50 available
Introduction to Wall Putty
We believe wall putty is a game-changer for creating smooth, flawless walls! This versatile material fills cracks, hides imperfections, and preps surfaces for painting. Whether you're renovating or building, we ensure that using the best wall putty delivers a polished finish. Easy to apply and budget-friendly, our wall putty transforms any wall into a perfect canvas. Let us help you elevate your space with top-quality wall putty!
Types of Wall Putty
We offer the following main types of wall putty:
White Putty: Our smooth, white cement-based paste, White Putty is perfect for indoor wall putty projects. It creates a bright, even surface for painting, hides minor cracks, and dries quickly, making it the best wall putty for a polished home look, though it’s less suited for damp areas.
Cement Putty: Made from cement and minerals, our cement putty is a tough, water-resistant option for any wall putty. Ideal for outdoor or humid areas, it fills cracks and withstands harsh conditions, earning its spot as the best wall putty for durability, but its rougher texture may need extra sanding.
Acrylic Putty: Our water-based putty with acrylic binders delivers a glossy, premium finish to your putty wall. Perfect for stylish interiors, it’s easy to paint over and resists cracks, making it the best wall putty for a luxurious look, though it’s pricier and less ideal for high-humidity spaces.
Benefits of Using Wall Putty for Your Home
If you want to refresh your home, wall putty is a must-have. It works like a charm to enhance your walls, giving them a stunning, long-lasting finish. Here’s why it’s a great choice:
1. Super Smooth Walls
Our putty for the wall smooths out imperfections like cracks, holes, or rough patches. When you putty the wall with our products, we guarantee a flawless surface ready for painting or decorating.
2. Enhances Paint Quality
Our white putty creates an ideal base for paint, making colours look vibrant and even. With our wall care putty, we ensure your paint lasts longer, resisting peeling or fading for a professional look.
3. Protects Your Walls
Our cement putty or putti in wall adds a protective layer, guarding against moisture, dampness, and minor wear. We help keep your walls strong, especially in humid climates.
4. Saves on Paint Costs
Using our best wall putty means your walls need less paint. We designed it to create a smooth surface that reduces the required coats, helping you save money while achieving a great finish.
5. Simple to Apply
We make application easy with products like our Nerolac wall putty options. No expert skills are needed—just apply, let it dry, and we’ll ensure your walls are prepped for the next step.
Factors to Consider When Choosing the Best Wall Putty
We understand that choosing the best wall putty for your home can make a huge difference in how your walls look and last. Here are the key factors we suggest you consider:
Coverage area
This tells you how much wall you can cover with one batch of wall putty. Our good white putty or wall filler putty spreads far, so you use less product. Check the label for square footage—better coverage means less money and hassle.
Drying time
Nobody wants to wait ages for cement putty filler to dry. Our wall putty products dry quickly, letting you paint or move on faster. If you’re in a hurry or in a humid spot, we suggest going for our best wall putty with a short drying time.
Weather resistance
Walls deal with rain, heat, or humidity, especially outside. Our cement wall putty with strong weather resistance fights off moisture and temperature swings. Pick a wall putty that handles the elements to keep walls looking great longer.
Crack resistance
Cracks ruin a wall’s look! Our quality wall filler putty stops cracks from forming or growing. This is key for older homes or places where walls might shift, keeping them smooth and solid.
Adhesion strength
We formulate our white putty to stick well to your walls. Our wall putty wall product with strong adhesion creates a sturdy base for paint or wallpaper. We guarantee that good adhesion prevents peeling or flaking, ensuring a lasting finish.
Popular Brands and Their Features
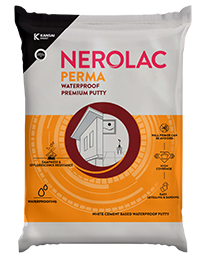
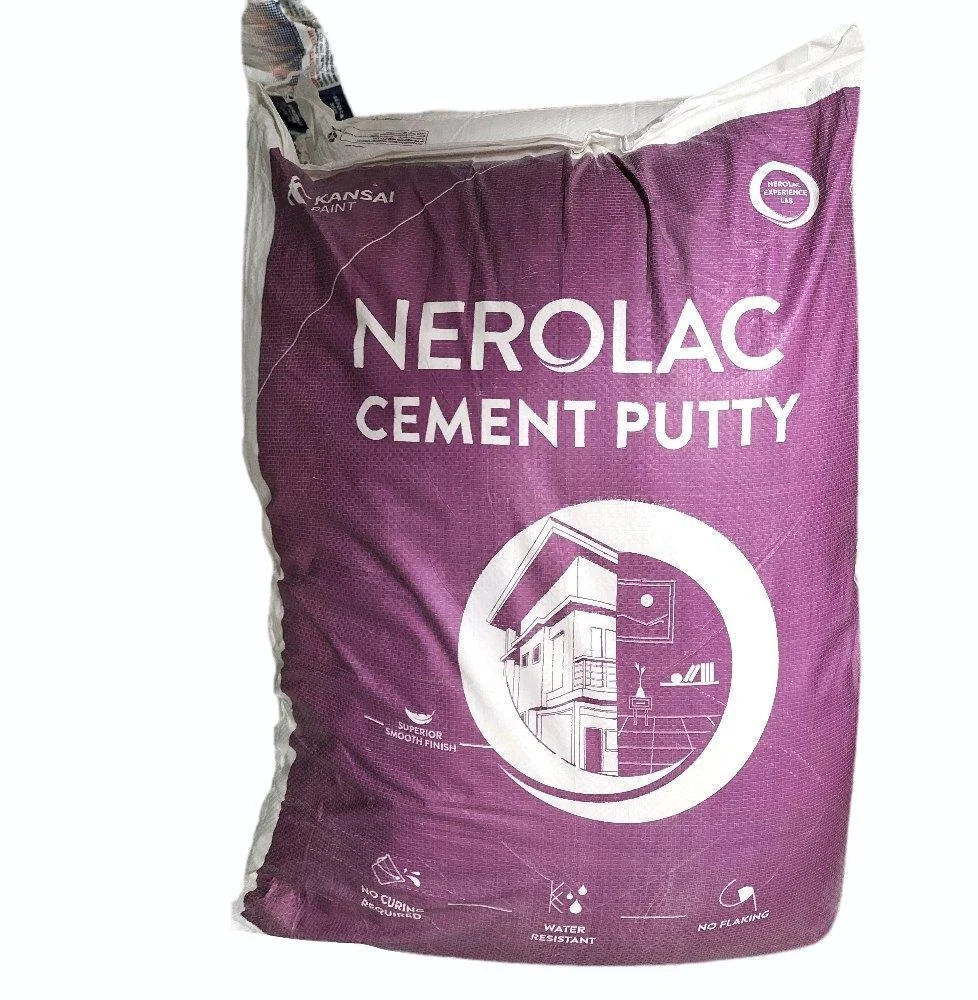
When it comes to wall putty, we proudly offer Nerolac cement putty as a top choice for getting your walls and ceilings ready for a fresh look. Here’s what makes our product special:
1. Superior smoothness
We ensure our putty gives your walls a super smooth finish, effortlessly covering up uneven spots and tiny holes.
2. Excellent water repellency
Our putty keeps water out, protecting your walls from moisture and making them perfect for humid areas.
3. Does not require water curing
We simplify the process—you don’t need to worry about extra steps. Apply our putty and let it dry without any curing hassle.
4. No flaking
Once it’s on, we guarantee it stays put, preventing any peeling or flaking for a long-lasting base.
5. Reduction in cracking
We formulate our putty to minimise cracks, keeping your walls strong and looking great over time.
6. Can be used on new & old walls/ceilings
Whether your walls are fresh or have seen some years, we ensure our putty works like a charm on both.
7. Excellent bonding to base plaster/concrete
We design our putty to stick well to plaster or concrete, creating a solid foundation for painting.
8. No need of primer application
Our Nerolac putty lets you skip the primer step—it preps your walls perfectly.
How to Apply Wall Putty Step-by-Step
We make applying wall putty to your home simple, helping your walls look amazing! Here are the steps we recommend to apply wall putty:
Step 1: Surface Preparation
Start by getting your walls ready. Clean off dust, dirt, or old paint with a brush or cloth. If there are big cracks or holes, fill them with wall filler putty and let it dry.
Step 2: Mixing instructions
Grab your putty for the wall or cement putty filler and follow the package directions. Usually, you mix it with water in a bucket—start with a little water and add more wall care putty gradually until it’s a thick, creamy paste.
Step 3: Application techniques
Now, it’s time to putty the wall! Use a putty knife or trowel to spread white putty or best wall putty evenly over the surface. Work in thin layers, moving in smooth strokes. For uneven spots, apply a bit more cement wall putty and smooth it out. Take your time to get that nice, even finish you want.
Step 4: Drying and curing process
Let your wall putty wall dry completely—check the instructions, but it usually takes a few hours. Avoid touching it while it dries to keep it smooth. Some putty for the wall might need light sanding after drying to perfect the surface.
Tips for Maintaining and Repairing Walls with Putty
We want your walls to stay beautiful, so here are our tips for maintaining and repairing walls with putty:
Check walls regularly
We recommend taking a quick look at your walls now and then for cracks or peeling. Catching small issues early with our white putty or wall filler putty saves you bigger headaches later.
Fix cracks fast
If you spot a crack, we suggest grabbing our cement wall putty. Fill it in with a putty knife, smooth it out, and let it dry—an easy fix to keep your walls strong.
Clean gently
We advise wiping your walls with a soft cloth and mild soap to remove dirt. Avoid harsh scrubbing so our wall care putty finish stays nice and intact.
Repaint when needed
Your wall might fade over time. We suggest applying a fresh coat of paint over our putti in the wall or cement putty filler to brighten it up and protect the putty underneath.
Avoid excess moisture
We recommend fixing leaks or using a dehumidifier to keep your walls dry. Our white putty works best when moisture doesn’t ruin it—think of it as a shield.
Sand for a smooth touch-up
If repairs feel rough, we suggest lightly sanding the best wall putty area with fine sandpaper. This will keep your wall putty looking seamless after fixing.
No reviews yet. Be the first to review this product!